Showing posts with label for the kids fridays. Show all posts

2.11.12

Leaf Art and a handy gift idea

The leaves are falling fast, but there's still a rainbow of autumn colours out there - so, plenty to collect. As well as reds, russets and yellows, the kids gathered up lots of different shapes and sizes for this little project - just make sure the leaves heading home aren't too curly or mouldy!


I did some flower pressing with the children in the summer - the youngest loved it and we made a card for Grandad. This time I thought we'd have a go at bookmarks, inspired by some fantastic leaf art in The Big Ideas Book. One top tip is to press the leaves (once they're dry) in an old phone book - very quick and easy, but be careful when you're moving it about because it's floppy, and you don't want them all dropping out...speaking from experience...


Weigh it down with something heavy, and leave for about a week.

When you're ready, hold the phone book over some newspaper, flick through, letting the leaves fall. Now the fun starts! I cut out bookmarks from some white card - ours were 5cm by 15cm, but you could draw around one you have, or make them any shape you like.
The kids are always impatient to start sticking, but best to get them to lay out the leaf pattern they want on the card first.

Lots of different shapes, colours and sizes means you can really get creative. Flowers and fish are easy to do - we cut a V into a leaf for the fish tail and a frilly, delicate one made a good underwater plant. And don't you think ferns would work well for christmas trees?


To finish off, the kids wrote a message on the other side, before the bookmarks were covered in clear sticky back plastic.

Make sure you cut enough from the sheet to go over both sides + a bit more. Pull half the back off the plastic, and put the leaf picture down on the sticky side, then fold the covering tight against the edge of the card and slowly, carefully remove the rest of the backing paper, smoothing down as you go. I did this for the kids, and kept an eye on them as they cut off the extra bits and neatened them up.

The bookmarks didn't take long to make and they're going to make great Christmas presents.


We've kept ours quite simple but if you want to jazz them up, you can draw a border round the edge of the bookmark or add a tassel or ribbon at the bottom.
I layered leaves for this butterfly picture, and stalks make perfect antenna. So many possibilities!


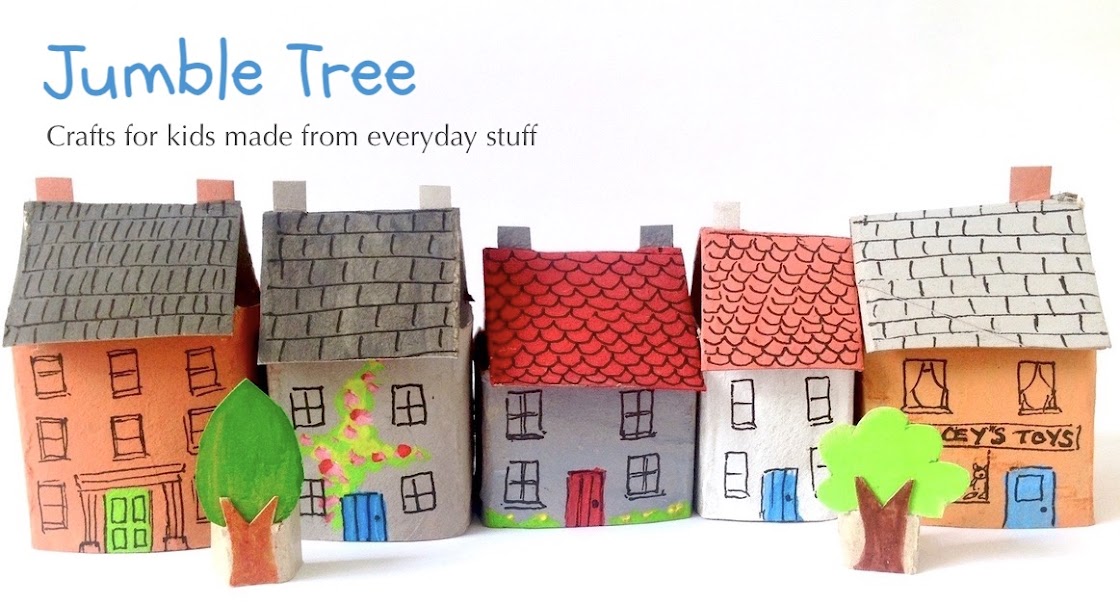
Next time paper houses.

Linking up with Country Kids at Coombe Mill and For the Kids Friday - LOADS of fun ideas to keep your little ones busy..
19.10.12

Going Batty

I thought we'd give our Owl and the Pussycat tube creations a spooky, Halloween twist. Very easy as it turns out, because they're a perfect shape for bats with those pointy little ears. So, time to gather up more toilet rolls...never imagined I'd be this happy to run out of loo paper...


They're made in exactly the same way as the owls and cats - gluing the top of the tube shut by brushing a good layer of craft glue inside the tube end, and using paper clips to hold it in place while the glue dries.

But this time paint them black, and when dry, cut a curve into the glued end and trim a few cms (1in) off the bottom (squeeze the sides together near the bottom and cut across the tube).

Draw and cut out eyes and fangs - I went for evil, grinning, vampire bats, but up to you how scary you want them to be!


I made half a bat wing using card, then folded some coloured paper, put the template on the crease and drew around it, before cutting and opening out the wings. Glue everything in place.


Next - time to get these bats up, and flying about.
Now due to the run on toilet rolls, we were just short for a bat-only mobile - so we made some ghosts to join them. They are very quick and easy. Cut a cup out of an egg box, brush glue all over the outside of the cup and stick the flat base in the middle of some white tissue paper (fold it double so it's not too thin). Hold it down with a loose elastic band while the glue's drying. Draw a haunted, ghostly face on one side. Cut the bottom in rough zig-zags, to make it look like a raggedy old sheet.


The mobile is just two wire coat hangers bound together at the top and bottom with some thin, pliable wire (or you could use string). I removed the top part of one hanger with wire cutters. Then cover it all with stretchy, creepy cobwebs and spiders - great stuff and easy to pick up in the supermarket around Halloween. I used some transparent thread to hang them up, but ordinary is fine too. Thread a needle and make a hole through the top of the ghosts, attach the thread underneath with sticky tape. Make a hole between the bat's ears with a threaded needle and tie a knot.